


Not sure how to edit the top and bottom margins of our letterhead template in Microsoft Word? We can help with that!
Using Word’s header and footer features saves you from copying, pasting, and formatting the same information on multiple pages.
How to add a header or footer
-
In Microsoft Word, go to Insert, Header, Edit Header. You can also select one of the default headers if you don’t want to start from scratch.

-
To make edits to your header, go to the now available Header & Footer menu.
-
You’ll use the same menu if you want to add a footer.

From here, all edits you make to your header or footer come from the same menu. Double-click the top of the document to edit the header or the bottom of the document to edit the footer. Once one is selected, you can easily jump back and forth between the two from the Header or Footer menu.
How to customize your header or footer
-
Change the color of a background shape by selecting it and going to the Shape Format menu, and selecting Shape Fill. You can also delete the background shape entirely.
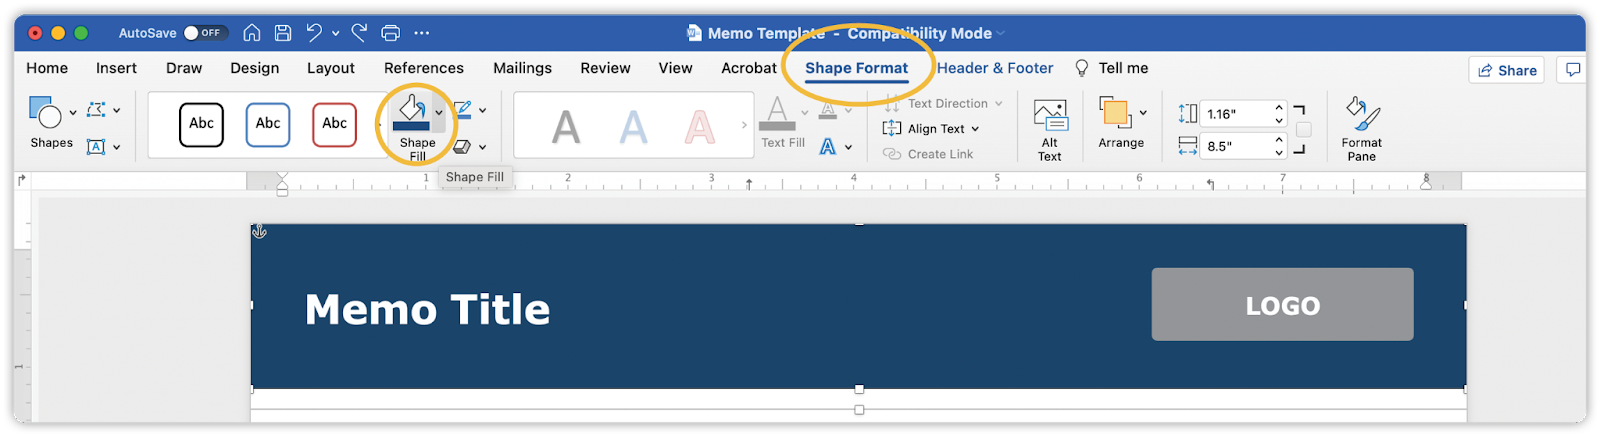
Note: The first page is set to appear differently than other pages in the Memo Template, so if you change the color of the background shape in the header to red, for example, it will still be blue for the rest of the pages.
-
Add your logo by going to Insert, Pictures, and select Picture from File to place a PNG or JPEG of your logo into the Header.
-
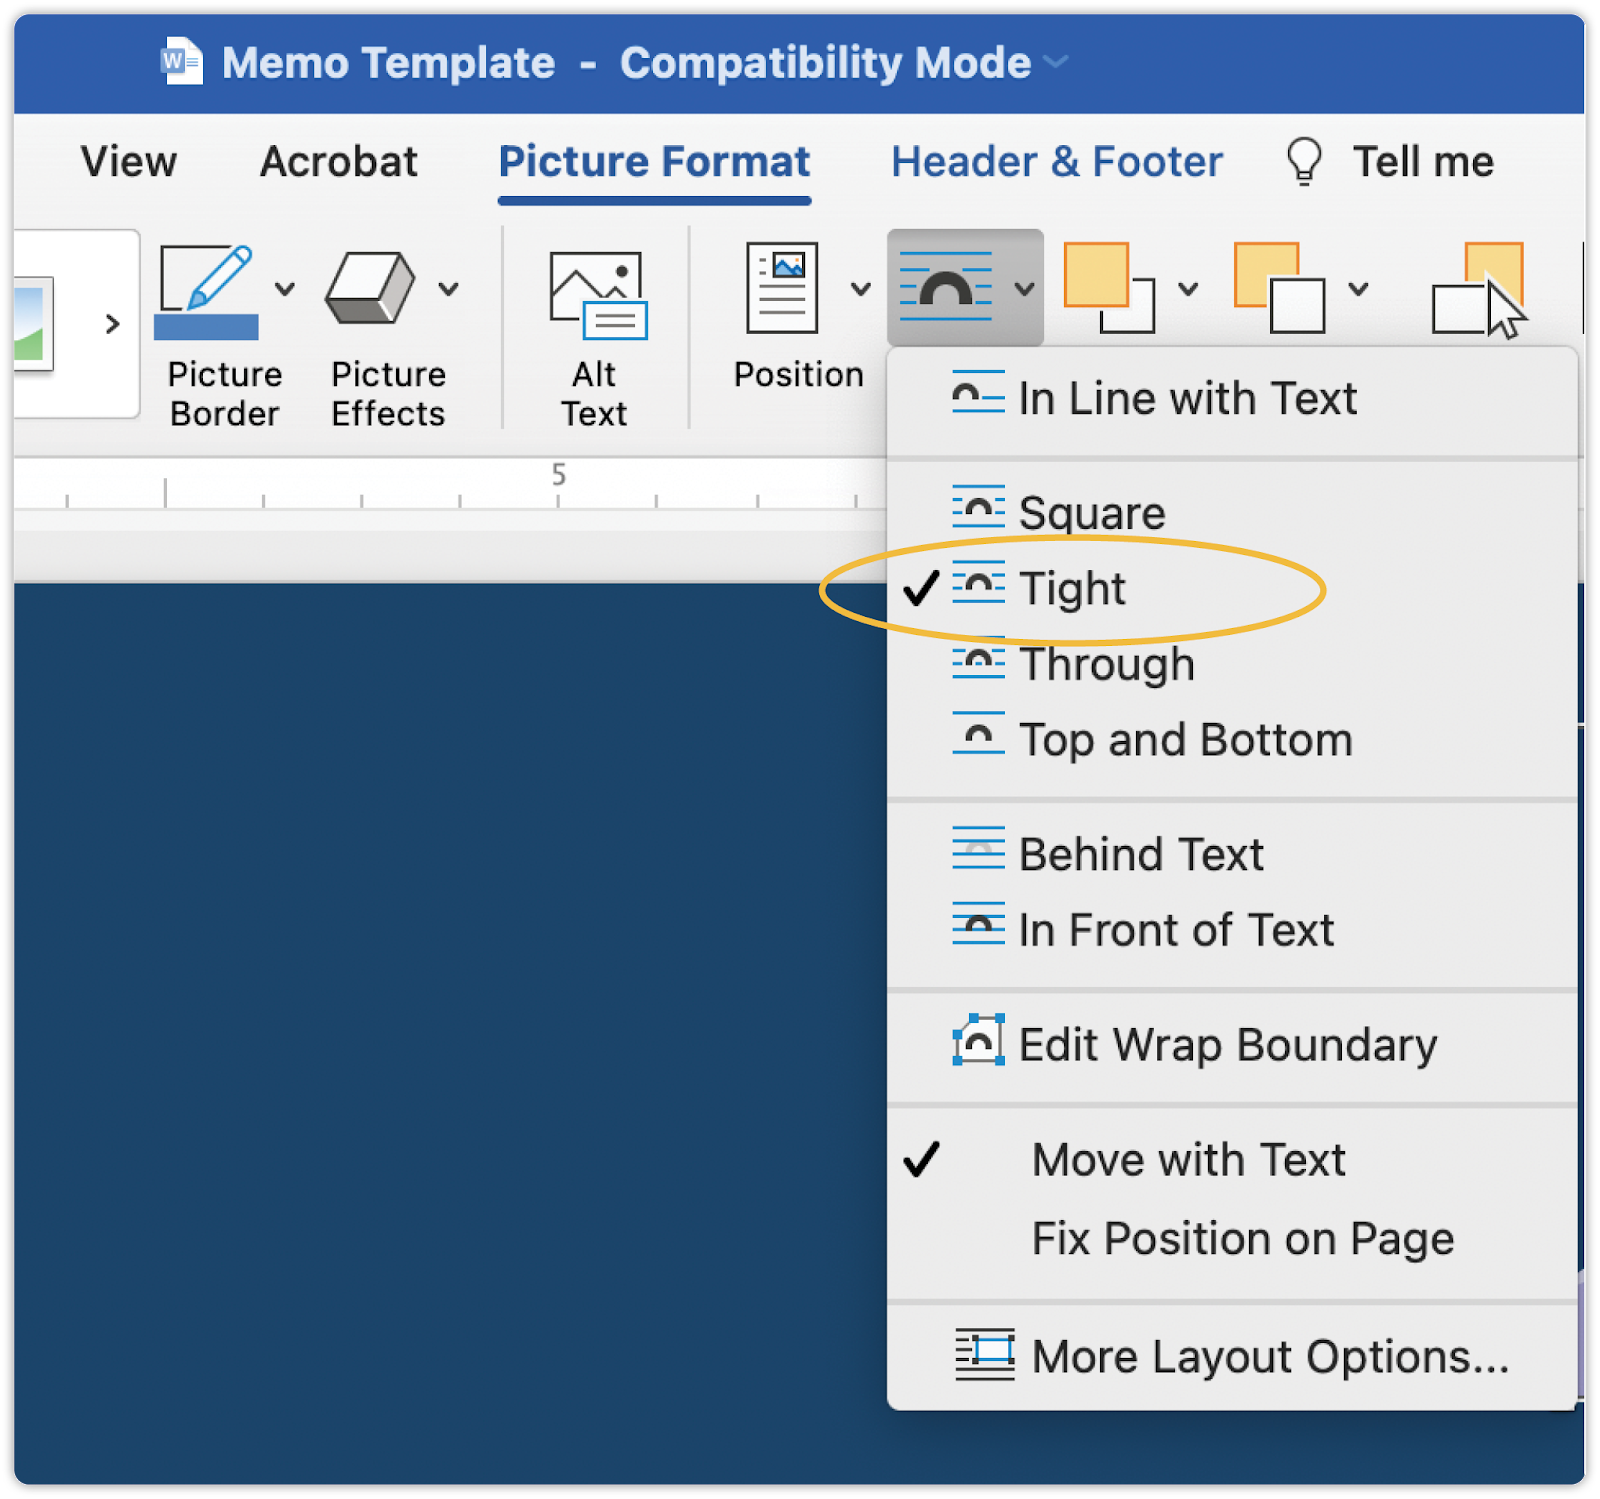
To freely move around the logo, select your logo and go to Picture Format, Wrap Text, and select Tight. Once it’s the size and placement you want, you can delete the placeholder.
-
Change the Date and Time by selecting the text, go to the Header & Footer menu, select Date & Time, and then choose the date format of your preference.


Note: The Date and Time should update automatically every time you update the Memo Template.
-
To change the font of the Page Numbers, follow the same process as step 3, but select Page Numbers from the Header & Footer menu instead.

-
If you want to change the fonts, colors, or type sizes of any of the text elements in your header or footer, those changes can be implemented from the Home menu font styles.

How to design your own header and footer
If you decide you want to create your own header or footer for our Memo or Newsletter template, we’ll walk you through that next! You can delete the individual elements from the header and footer and create your own.
-
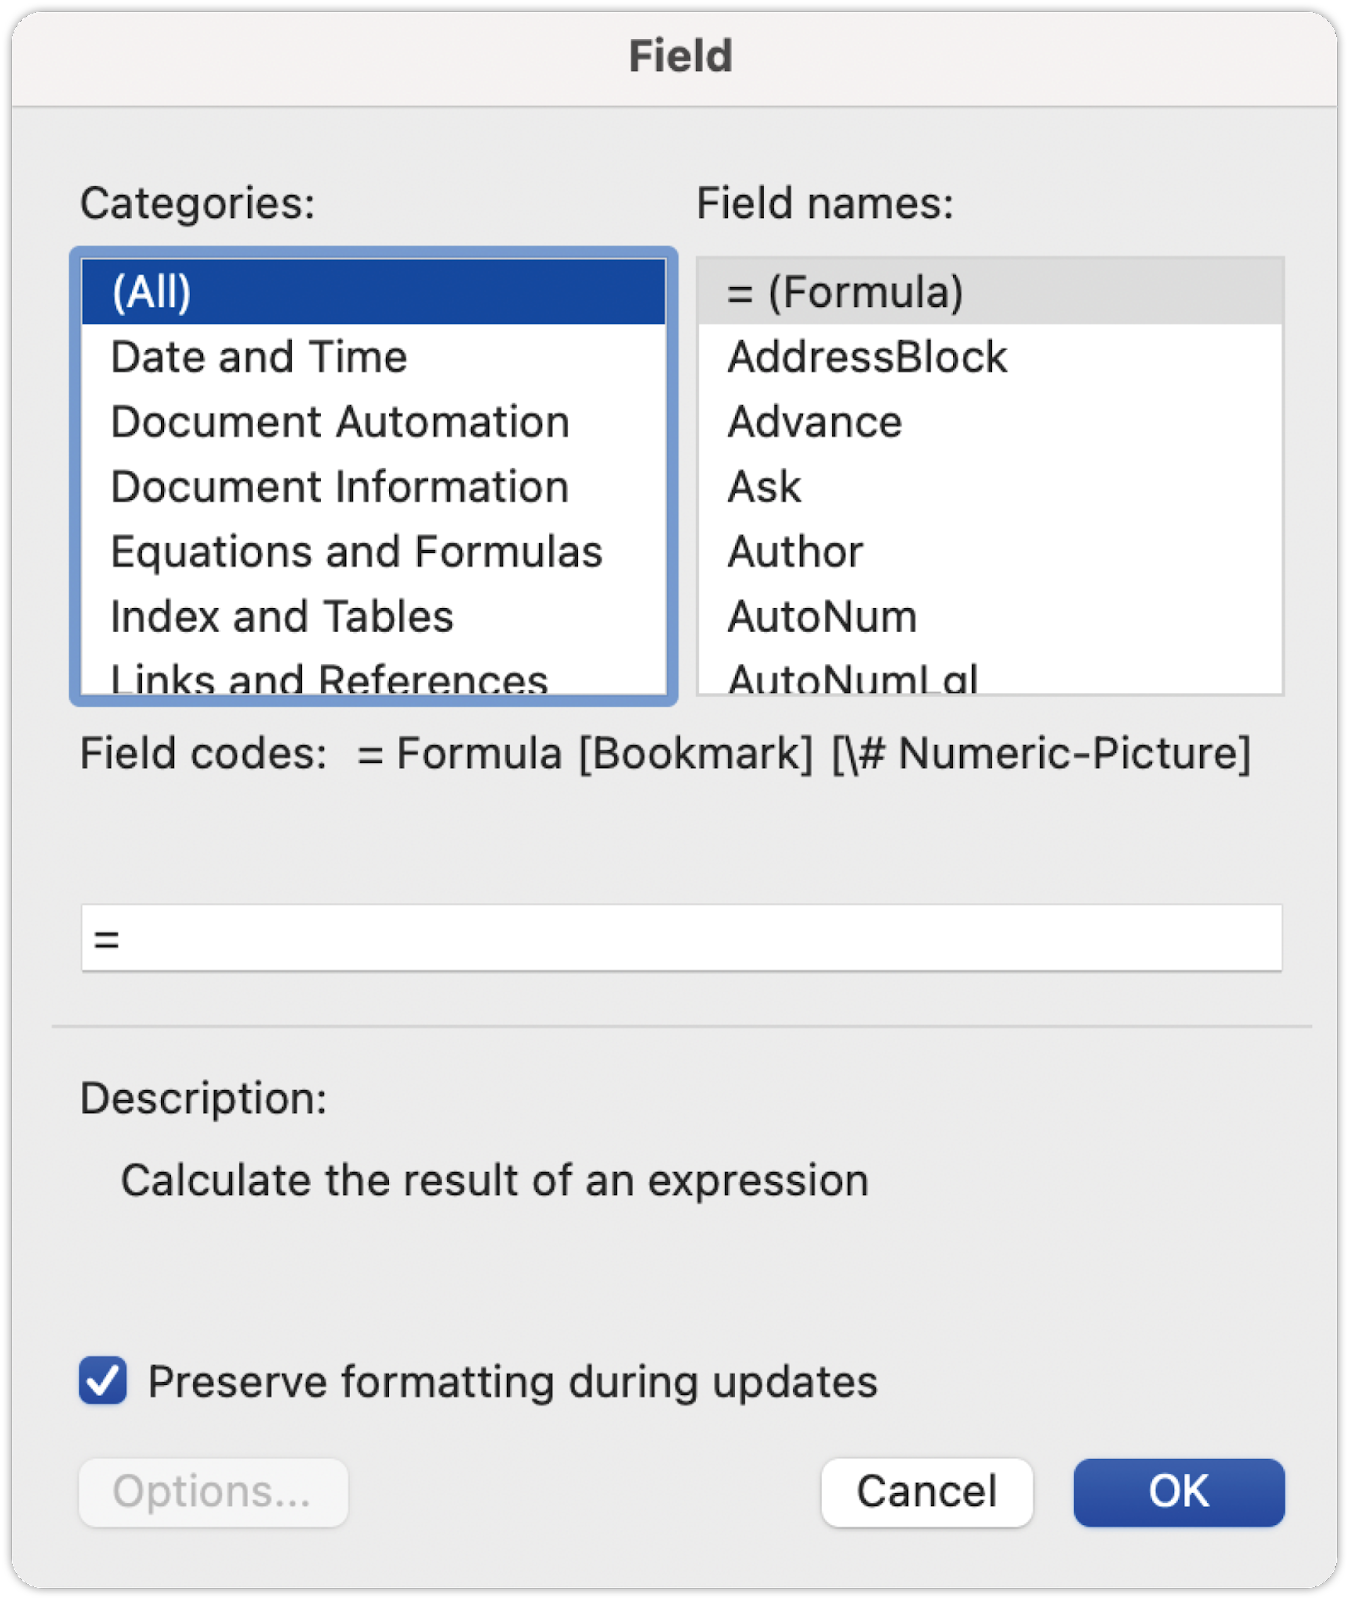
From the Header & Footer menu, you can add individual elements such as the Page Number, Date and Time, or other Fields like Date and Time or Document Automation.
-
If you want more control over where these fields go, add a text box in the header or footer and then set it to the Field you want by going to the Insert menu—such as what was done in the Compliance Team Brand Toolkit Memo Template.
-
Add a PNG into your Header by going to the Header & Footer menu, and selecting Picture from File. You can also add an image by dragging-and-dropping a PNG into the header itself.
-
Give your header or footer more space in the Header & Footer menu either by toggling the Header from Top or Footer from Bottom fields.
-
If you want a header or footer that is different from the rest of the document, select Different First page from the Header & Footer menu. From there any changes you make to the first page header or footer will not affect the other pages.
-
To confirm your headers or footers are working, go to Insert from the main ribbon, then Blank page.


Want to implement your brand even further? Check out our Applying your branding how-to-guide for Powerpoint!